Getting Started
This guide will help you to get started with Highlayer and build your first dApp.
It focuses on development on the testnet, as you can obtain $tHI (testnet $HI) for free from our faucet and test your application without any financial risk.
Wallets
Any bitcoin wallet can be used to sign Highlayer transactions, as we use BIP322 as the signature method.
Please note that not all Bitcoin wallets can properly render Highlayer transaction data (e.g., amount, receiver, requested fee, contract id, action name, etc.).
For the testnet release of Highlayer, we use Bitcoin's testnet addresses, so make sure that your wallet supports Bitcoin's testnet.
This guide will use Unisat for any wallet interactions.
We recommend creating a new wallet without any BTC or any other form of values on it.
Getting $tHI
To get some tHI, obtain a Highlayer (or Bitcoin) wallet, and post your address in #faucet channel on our discord server.
Extracting WIF private key
For the library to deploy or interact with Highlayer from Node.js, you will need to obtain a WIF key from your wallet.
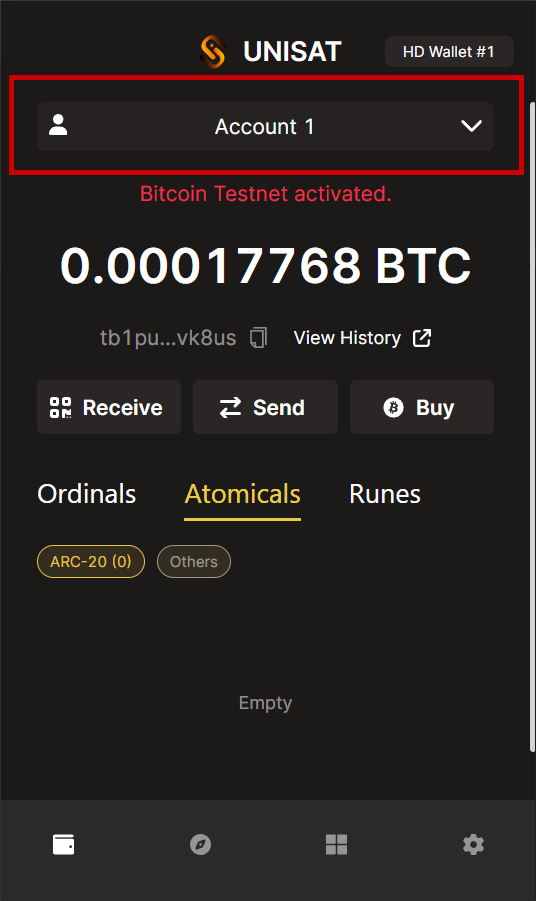
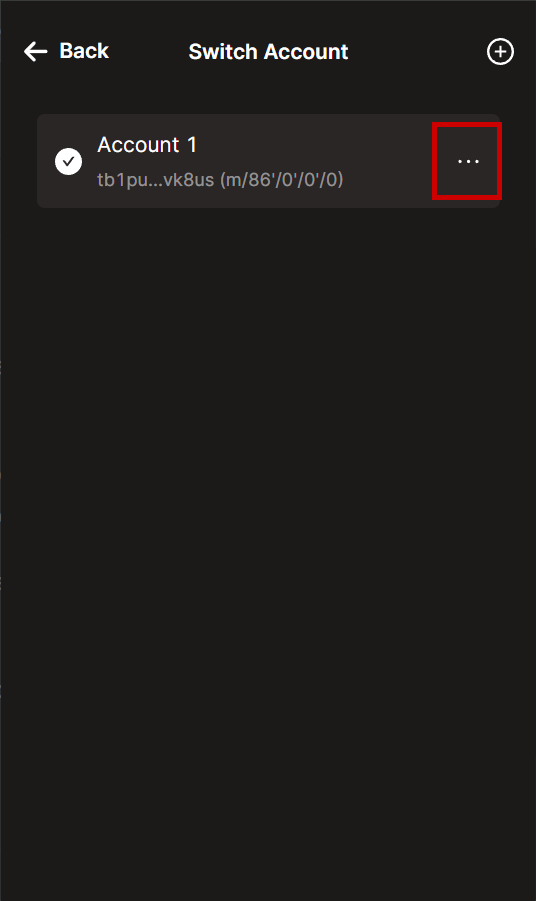
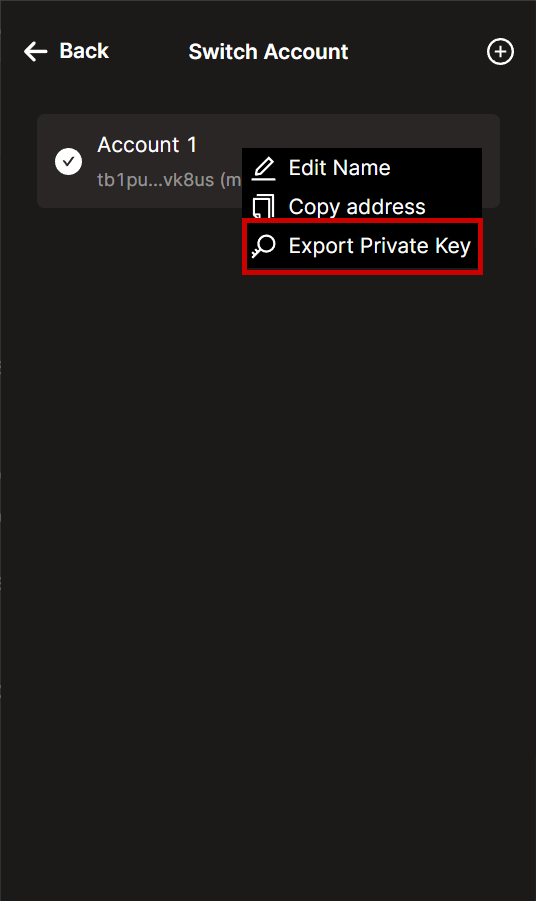
For Unisat, here is a series of screenshots that will help you extract the WIF key.
IMPORTANT: Never extract and use the WIF of a high-value wallet. The WIF provides full access to your wallet, meaning if it gets compromised, you could lose all funds in the wallet. Always use a temporary, low-value wallet for development purposes.


Installing development tools
To be able to build/deploy highlayer contracts, you will need Node.js installed.
After you've installed node.js, you can install highlayer-cli - tooling to develop smart contracts on highlayer.
To install highlayer-cli, run following command:
npm install -g highlayer-cliUse sudo if you're on linux machine.
Next steps
After you have your wallet set up, obtained some tHI in it, extracted and saved the WIF, and got highlayer-cli installed, you can proceed to Writing your first dApp: Cat rating app